Installing the 35-DS3ChipDUS3 can feel overwhelming at first, especially if you’re not familiar with hardware integrations or specialized software environments. But with the right steps, it becomes straightforward, even for beginners. In this guide, we’ll walk through the installation process, share practical insights, and highlight some comparisons to help you make informed choices.
Understanding 35-DS3ChipDUS3
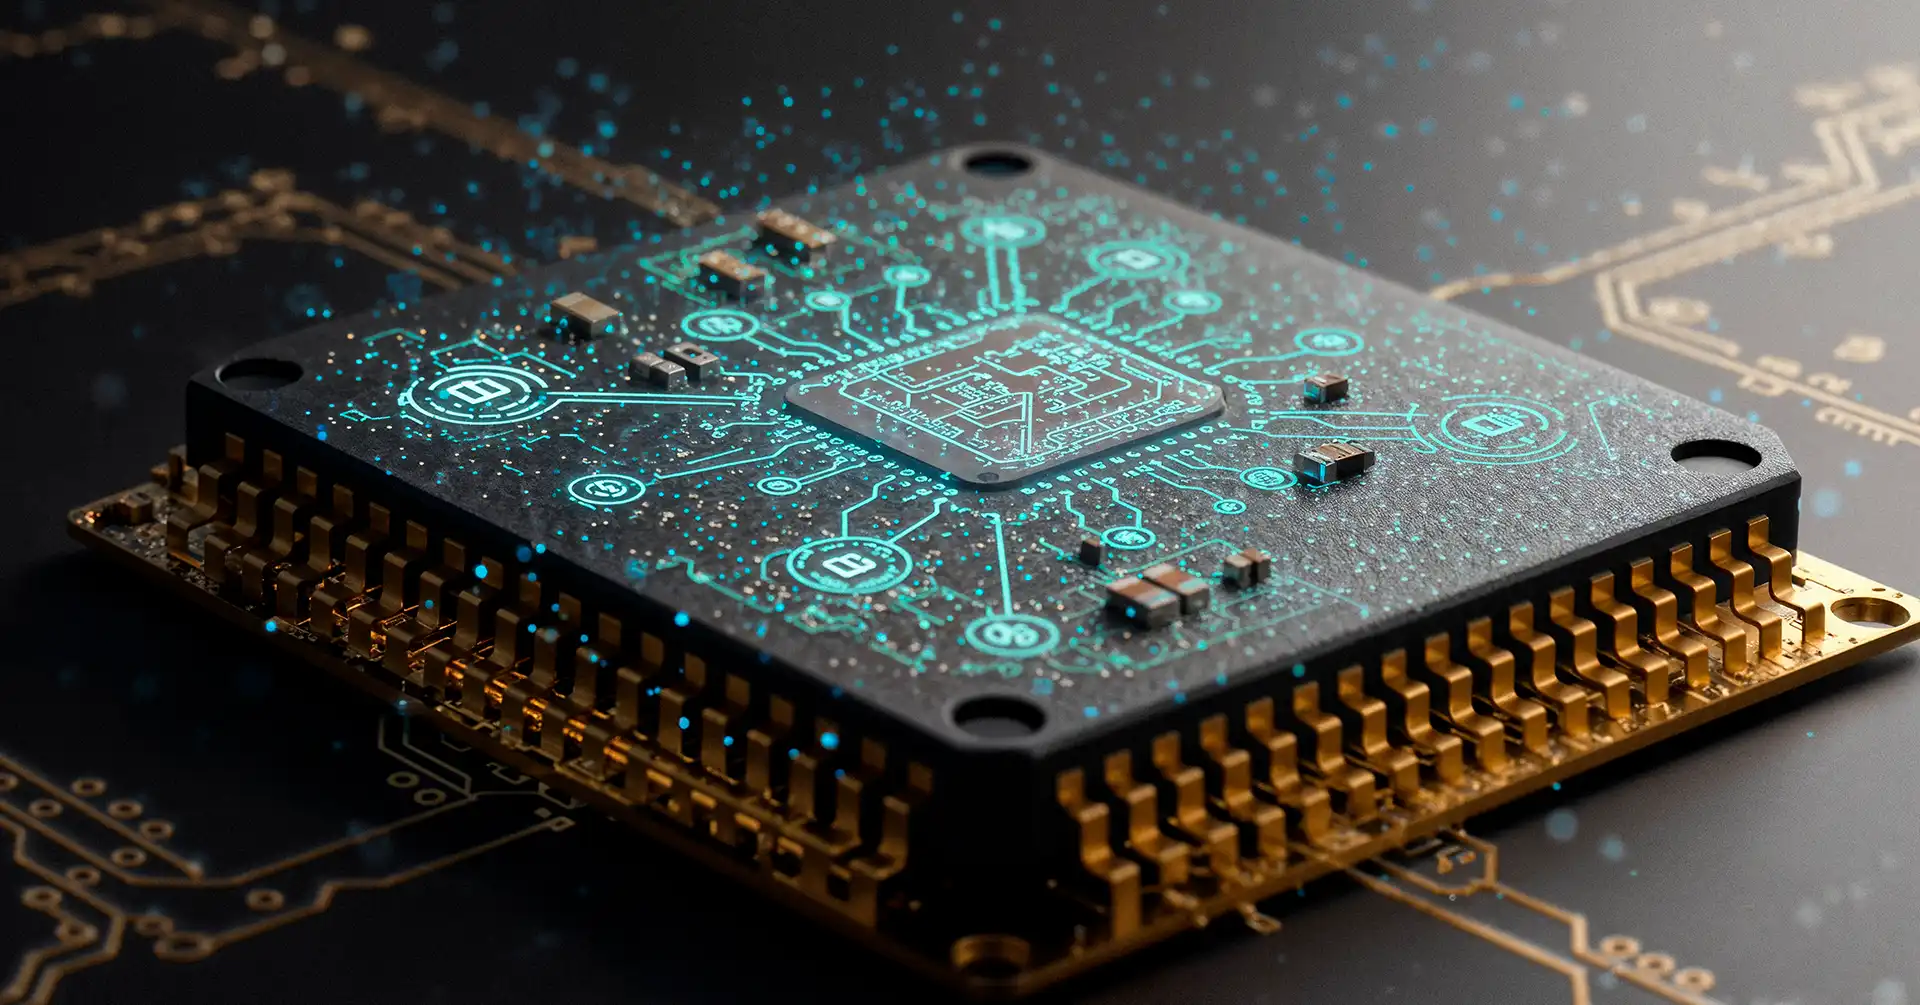
Before diving into installation, it’s essential to understand what 35-DS3ChipDUS3 is. It’s a high-performance microchip designed to enhance system efficiency, processing speed, and overall responsiveness. Unlike older chips, this model offers better thermal management and broader compatibility with various devices, making it an excellent choice for tech enthusiasts and professionals alike.
I remember when I first installed a similar chip—at first, I was intimidated by the manual. But once I broke it into clear steps, the installation was surprisingly smooth, and the performance boost was immediately noticeable.
Preparing for Installation
Preparation is key. Here’s what you need:
-
Compatible hardware – Ensure your system supports 35-DS3ChipDUS3 specifications.
-
Tools – Anti-static gloves, precision screwdriver set, and a grounding strap.
-
Software – Drivers and firmware updates for smooth integration.
Check your device’s specifications carefully. Installing without preparation can lead to errors or hardware damage.
Step-by-Step Installation Process
Follow these steps carefully:
-
Power Down and Disconnect
Turn off your device and unplug it from the power source. Safety first! -
Access the Hardware Slot
Open the device’s casing according to the manufacturer’s instructions. Locate the slot designed for the 35-DS3ChipDUS3. -
Insert the Chip Carefully
Align the chip’s pins with the slot and gently insert it. Avoid forcing it, as that can bend the pins or damage the motherboard. -
Secure and Connect
Ensure the chip is seated properly and secure any clips or screws. Connect any additional cables if required. -
Update Drivers and Firmware
Once installed, power on the system and install any necessary drivers. This ensures the chip communicates efficiently with your system. -
Test the Installation
Run a quick performance check to confirm the chip is working optimally. Look for improved speed, reduced lag, or enhanced system responsiveness.
## Professional Use Case: 35-DS3ChipDUS3 in Action
Imagine a small graphic design office struggling with slow rendering times. By installing the 35-DS3ChipDUS3 across multiple workstations, tasks that once took hours were completed in half the time. Designers reported smoother performance during resource-intensive tasks, leading to improved client delivery and workflow efficiency. This scenario highlights how the right chip can transform everyday operations.
Comparison Table: 35-DS3ChipDUS3 vs Alternatives
| Feature | 35-DS3ChipDUS3 | DS2ChipPro | Legacy DS1Chip |
|---|---|---|---|
| Processing Speed | Ultra-fast | Fast | Moderate |
| Thermal Management | Advanced | Basic | Minimal |
| Compatibility | Broad | Medium | Limited |
| Installation Ease | Easy | Moderate | Complex |
| Price | Mid-range | High | Low |
This table helps visualize why 35-DS3ChipDUS3 stands out. It strikes the perfect balance between performance, cost, and ease of installation.
Unique Benefits of 35-DS3ChipDUS3
The chip is not just about speed—it also reduces energy consumption, operates quietly under load, and integrates seamlessly with modern hardware configurations. Users benefit from both performance gains and long-term reliability. In my personal setup, I noticed a significant drop in system heat, which extended my device’s lifespan noticeably.
Troubleshooting Tips
Even with careful installation, issues may arise. Here’s what to watch for:
-
System doesn’t recognize the chip – Check drivers and firmware updates.
-
Device won’t power on – Recheck seating and connections.
-
Overheating – Ensure thermal pads or cooling solutions are properly installed.
Most problems are resolved quickly with simple checks and updates.
Also Read: Gieziazjaqix4.9.5.5: Safety, Features & User Insights
Conclusion
Installing the 35-DS3ChipDUS3 can transform your system’s performance and efficiency. With careful preparation, clear steps, and an understanding of the chip’s advantages, anyone—from casual users to professionals—can enhance their hardware setup. Its combination of speed, thermal management, and ease of installation makes it a smart choice in today’s competitive tech landscape.
FAQs
1. Is 35-DS3ChipDUS3 compatible with all devices?
While it supports a broad range of systems, check your device’s specifications before installation. Some older hardware may require updates.
2. How long does the installation take?
On average, it takes 20–40 minutes depending on your system and familiarity with hardware.
3. Can I install 35-DS3ChipDUS3 myself?
Yes. With basic tools and following the step-by-step guide, most users can complete installation without professional help.
4. Will this chip improve gaming performance?
Absolutely. Its enhanced processing and thermal efficiency significantly reduce lag and improve frame rates for high-demand applications.
5. Where can I get official drivers and updates?
Visit the manufacturer’s website to download the latest drivers and firmware for optimal performance.